>>
30-MINUTE MEALS! Get the email series now →


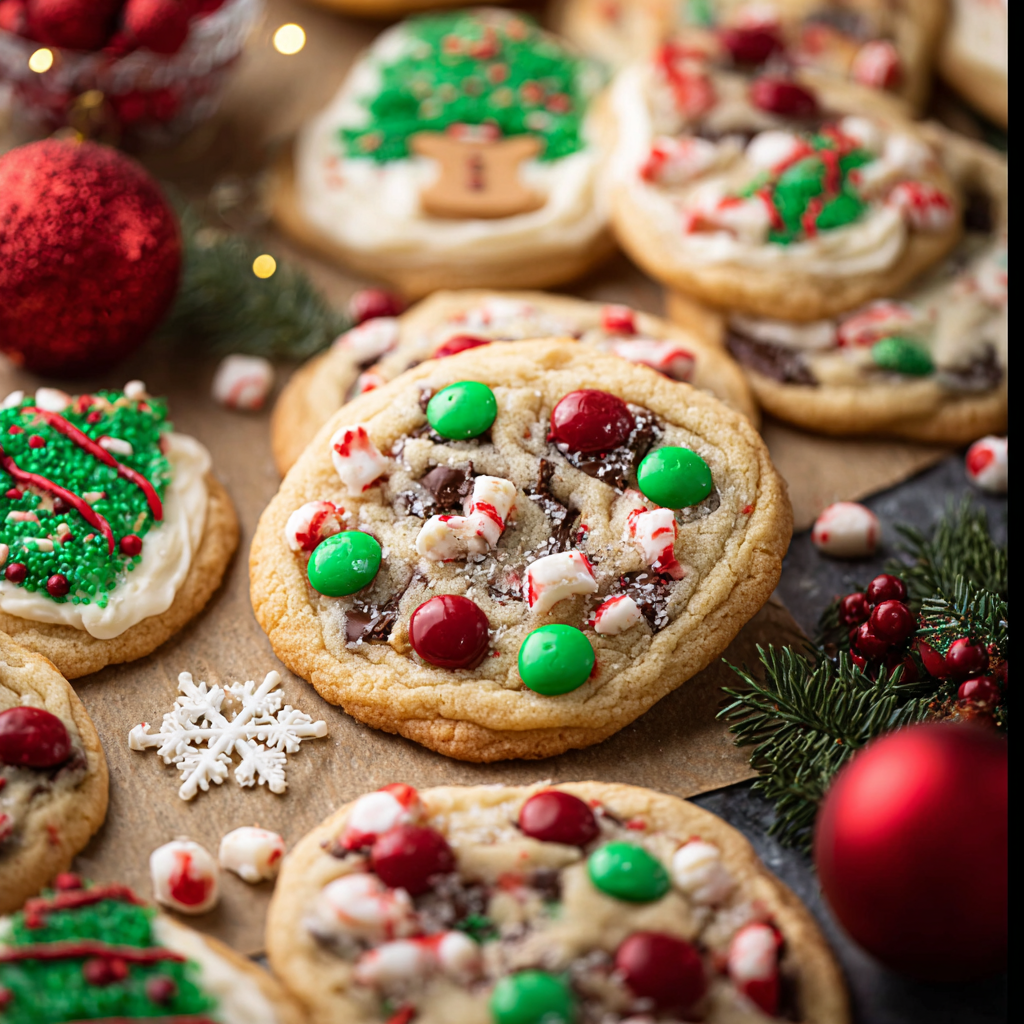
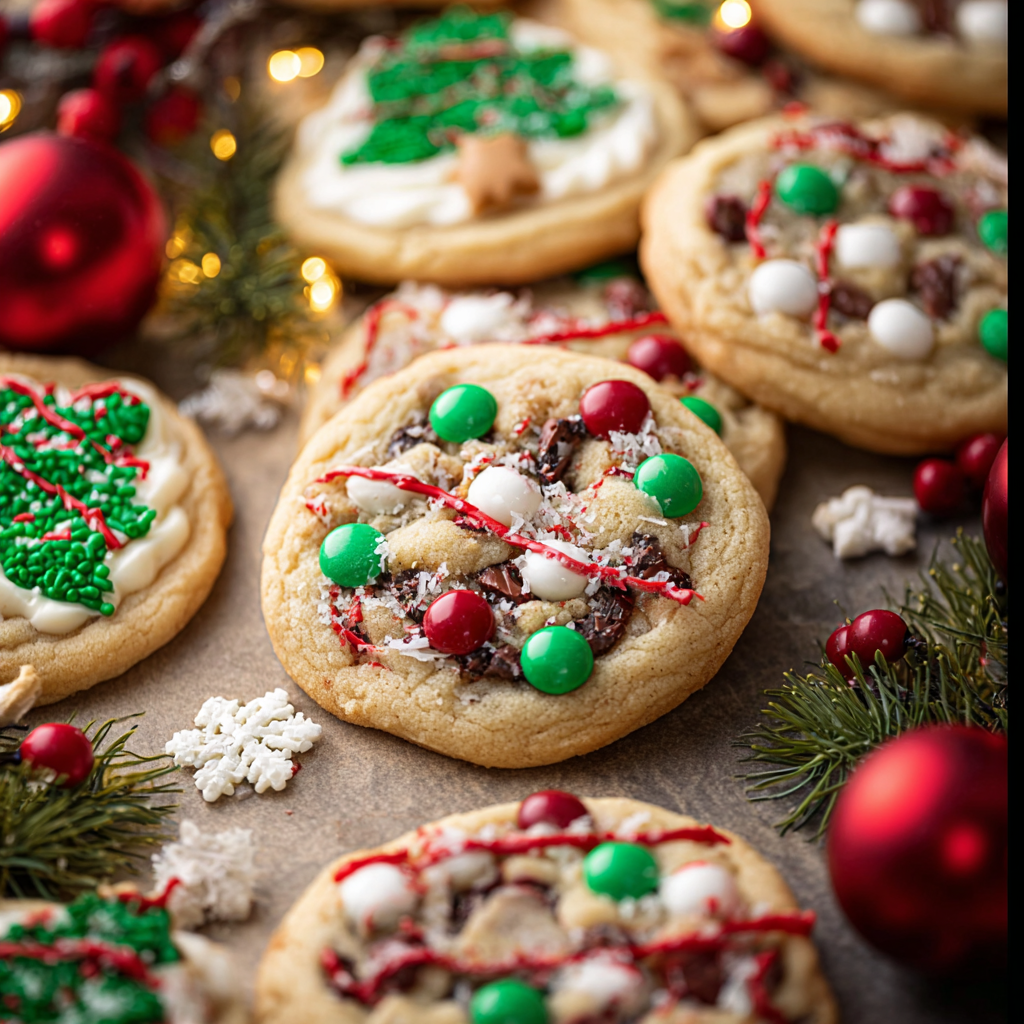
A festive, crowd-pleasing cookie loaded with semi-sweet and white chocolate chips, red & green M&M's and holiday jimmies—perfect for holiday plates and cookie swaps.

This batch of Santa’s Favorite Christmas Cookies has been a holiday tradition in my kitchen for nearly a decade. I discovered the combination during an especially busy December when I wanted a cookie that read as joyful on the plate and stayed soft and tender bite after bite. The first pan out of the oven filled the house with the smell of caramelized brown sugar and chocolate, and my kids declared them “officially Santa-approved.” Since then they have shown up at neighborhood cookie swaps, school functions, and every family Christmas morning.
What makes these cookies special is the balance of textures and the festive pop of color: a pillowy, buttery base studded with semi-sweet chocolate, creamy white chips, crunchy candy, and a scattering of jimmies for extra holiday cheer. They aren’t overly sweet but deliver satisfying richness, and they hold up well stacked in tins. If you’re after a nostalgic cookie that’s easy to scale and forgiving in technique, this will become one of your go-to holiday treats.
In my family these cookies are the first to disappear from the tin. I’ve brought them to holiday gatherings and the reaction is always the same: immediate smiles and a chorus of “more please.” Over the years I’ve learned small tweaks—using packed brown sugar, not overworking the dough, and pulling them when the edges are lightly browned—to keep the texture perfect every time.
My favorite part of making these is the ritual of pressing a few extra M&M's on top while the dough is still warm—kids think it’s magic and adults love the decorative touch. Over the years small changes like using light brown instead of dark and reserving candies for pressing on top improved both the look and texture. Neighbors routinely stop by with plates after they smell these baking.
Store cooled cookies in an airtight container at room temperature for up to five days; layering them between parchment will prevent sticking and preserve the sprinkles. For longer storage, freeze baked cookies in a single layer on a tray until firm, then transfer to a zip-top freezer bag for up to three months—thaw at room temperature for 30–45 minutes. If you prefer to freeze dough, portion with the scoop onto a tray, freeze solid, then store in a bag; bake straight from frozen, adding 1–2 minutes to the bake time.
Want to adapt? Swap unsalted butter for salted and omit the additional teaspoon of salt if using a saltier brand. For dairy-free, use a vegan butter substitute and dairy-free chocolate chips; note texture will be slightly different. You can switch half the M&M's for chopped roasted nuts for extra crunch or replace white chocolate chips with butterscotch for a warmer flavor. To reduce sugar slightly, drop granulated sugar to 1/3 cup and expect a slightly chewier result.
Serve these warm with a glass of cold milk or hot cocoa; they also pair beautifully with spiced coffee or chai. For a festive platter, arrange with peppermint bark, ginger snaps, and cranberry orange scones to create a seasonal spread. Garnish plates with fresh rosemary sprigs for a piney accent and a sprinkle of edible gold for special occasions. These cookies make excellent homemade gifts—wrap in cellophane with a ribbon for immediate charm.
Change the color palette of the candies to fit other holidays: pastels for Easter or autumnal orange and brown for Thanksgiving. Stir in candied ginger and orange zest for a winter citrus twist, or add a teaspoon of ground cinnamon for cozy warmth. For Halloween, use chopped toasted pumpkin seeds and orange chocolate chips. The dough is a versatile base—small swaps will keep the essential soft texture while shifting flavor profiles to match the season.
If you’re baking for a party, double the batch and freeze dough balls on a baking sheet until solid, then store in labeled bags—this allows you to bake fresh trays on demand. Use a 2-tablespoon scoop for uniform cookies that bake evenly; rotate sheet pans halfway through baking if your oven has hot spots. For gifting, assemble cookie stacks with parchment separators and include reheating instructions: warm 10–15 seconds in the microwave to revive the chewiness.
Decorated and candy-studded cookies are a modern twist on classic American drop cookies, which evolved from European butter-based biscuits and American pantry innovations. The tradition of leaving cookies for Santa dates back to the early 20th century in the United States, growing from simple sugar cookies to elaborate assortments. These cookies are part nostalgia, part innovation—bringing colorful candy and multi-textured chips into a familiar holiday ritual.
One holiday I brought a batch to a cookie swap with neighbors and returned with half a dozen different varieties—they all asked for my “secret” recipe. Another time I packed a tin of these for our mail carrier and received a handwritten note the next week asking for the recipe. The cookies have become my family’s official cookie-swap entry because they travel well, look festive, and please even picky eaters who usually avoid anything with nuts.
Whether you’re baking with kids, preparing plates for a party, or simply craving a cheerful treat, these cookies bring a little holiday magic to ordinary afternoons. Make them your own by experimenting with colors and mix-ins, and enjoy the smiles they create.
Room-temperature butter and eggs help the dough emulsify and yield a softer texture.
Scoop uniformly with a 2-tablespoon cookie scoop for even baking and consistent cook times.
Underbake slightly—remove when edges are browned but centers look soft to keep a tender middle.
If freezing dough balls, flash-freeze on a tray first to maintain shape before storing in bags.
This nourishing santa’s favorite christmas cookies recipe is sure to be a staple in your kitchen. Enjoy every moist, high protein slice — it is perfect for breakfast or as a wholesome snack any time.
This Santa’s Favorite Christmas Cookies recipe makes perfectly juicy, tender, and flavorful steak every time! Serve with potatoes and a side salad for an unforgettable dinner in under 30 minutes.
Preheat oven to 350°F (176°C) and line baking sheets with parchment paper. Position racks in the center and lower third of the oven for even baking.
In a large bowl, cream 1 cup softened unsalted butter with 1 1/2 cups packed light brown sugar and 1/2 cup granulated sugar for about 2 minutes until fluffy and well combined.
Beat in 2 room-temperature eggs, one at a time, then add 2 teaspoons vanilla. Mix until homogeneous but avoid overbeating to keep the dough tender.
Whisk together 3 cups all-purpose flour, 1 teaspoon kosher salt, and 1 1/2 teaspoons baking soda. Add to wet mixture and beat just until combined to avoid tough cookies.
Fold in 1 cup semi-sweet chips, 1 cup white chips, 1 cup M&M's, and 1/4 cup jimmies until evenly distributed; reserve a few candies to press on top if desired.
Using a 2-tablespoon scoop, portion dough onto prepared sheets about 2 inches apart. Bake 11–13 minutes until edges are lightly browned and centers appear slightly underbaked.
Allow cookies to cool several minutes on the baking sheet, then transfer to a wire rack to cool completely. Store in an airtight container for up to 5 days or freeze.
Last Step: Please leave a rating and comment letting us know how you liked this recipe! This helps our business to thrive and continue providing free, high-quality recipes for you.
Leave a comment & rating below or tag
@royalrecipe on social media!

Learn how a 5-minute prep transforms a whole garlic bulb into silky, caramelized cloves in the air fryer. Perfect as a spread, mix-in, or flavor booster that elevates weeknight meals and party plates.
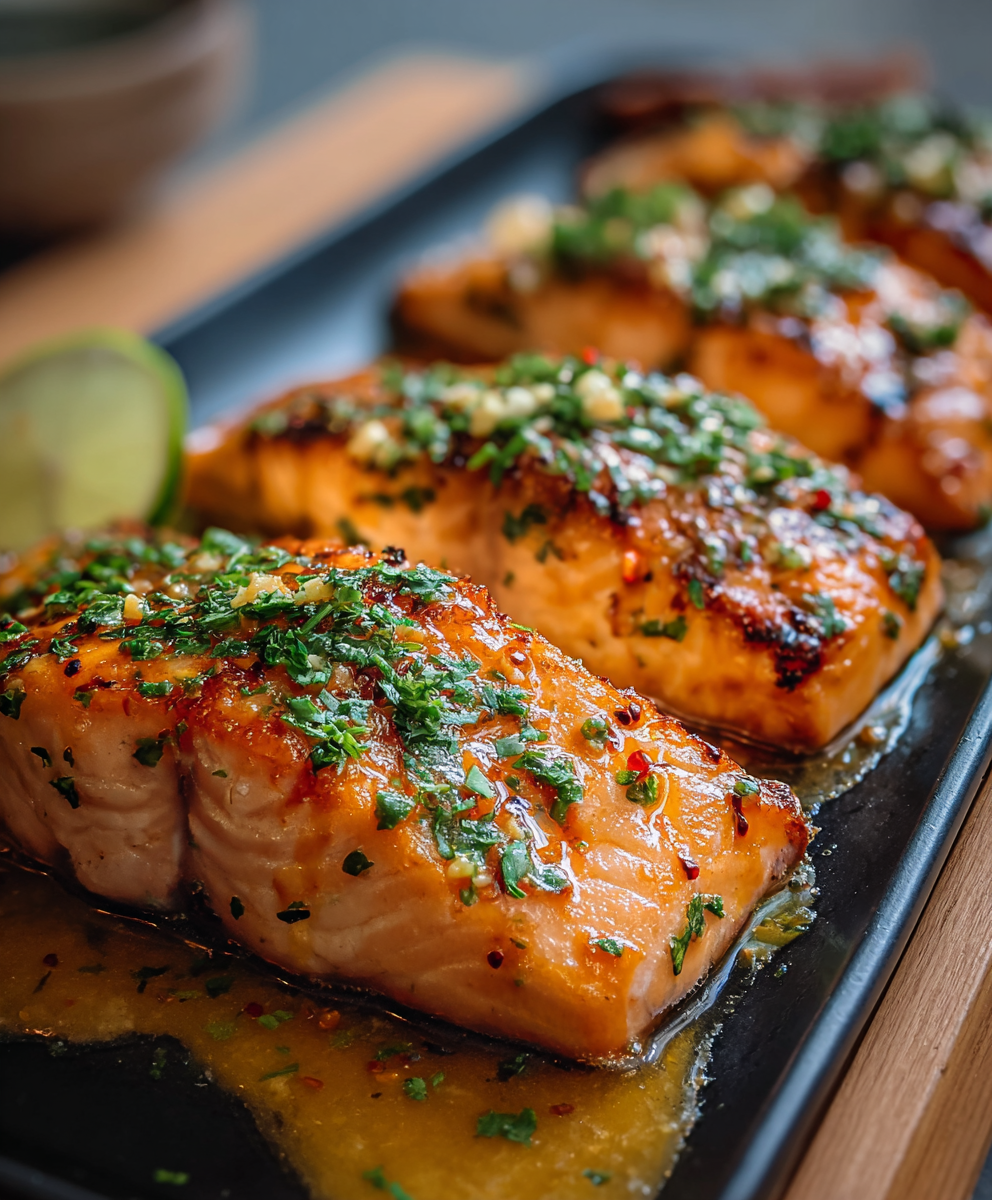
A bright, spicy and slightly sweet salmon dish finished with a creamy bang bang sauce. Ready in 15 minutes, it delivers restaurant flavor with weeknight ease.

A comforting, protein-packed twist on classic pot pie flavors, transformed into a creamy, one-pot soup that is perfect for weeknights and meal prep.
Leave a comment & rating below or tag @royalrecipe on social media!
Enjoyed this recipe? Share it with friends and family, and don't forget to leave a review!
This recipe looks amazing! Can't wait to try it.
Comments are stored locally in your browser. Server comments are displayed alongside your local comments.

Join to receive our email series which contains a round-up of some of our quick and easy family favorite recipes.