>>
30-MINUTE MEALS! Get the email series now →


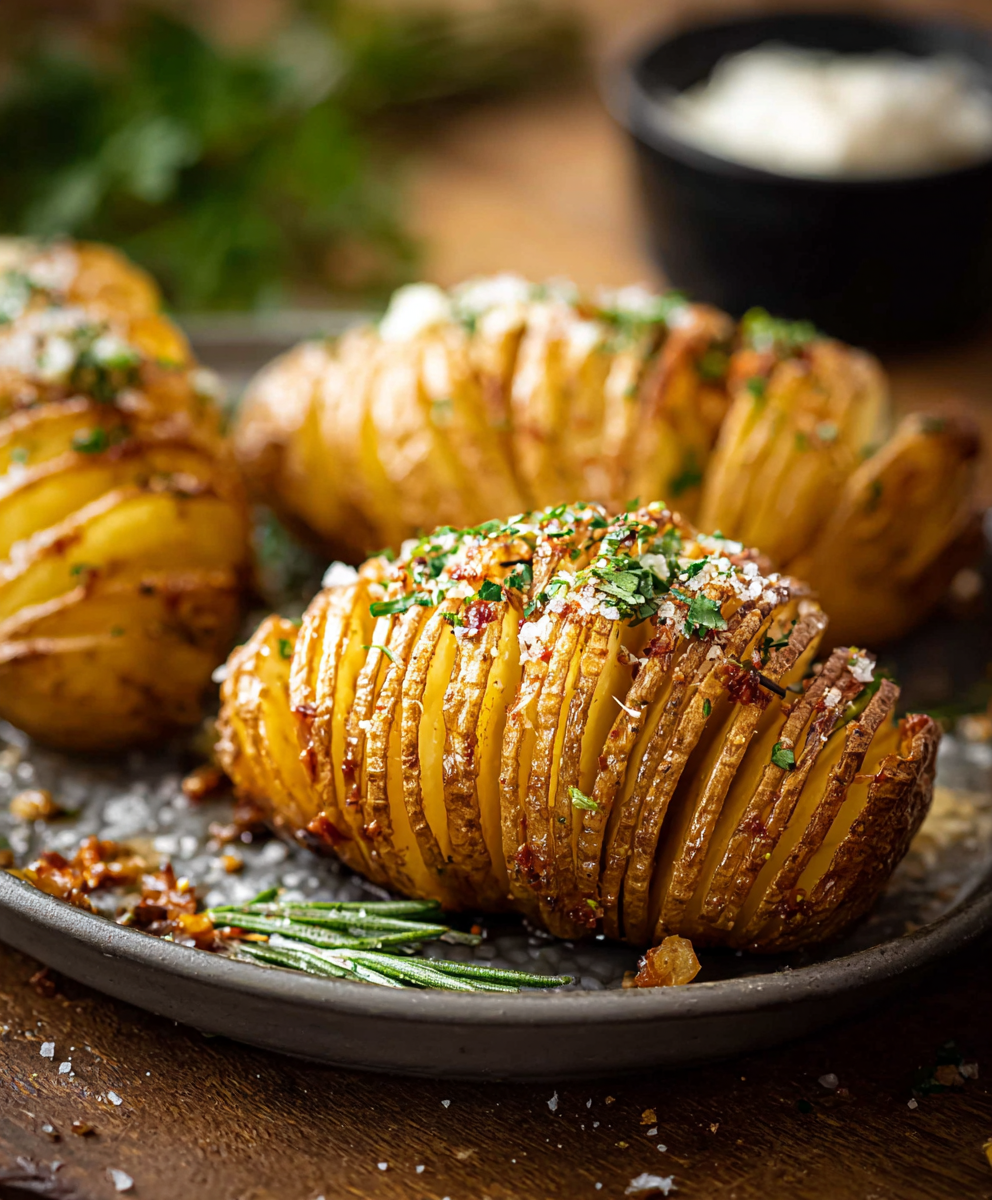
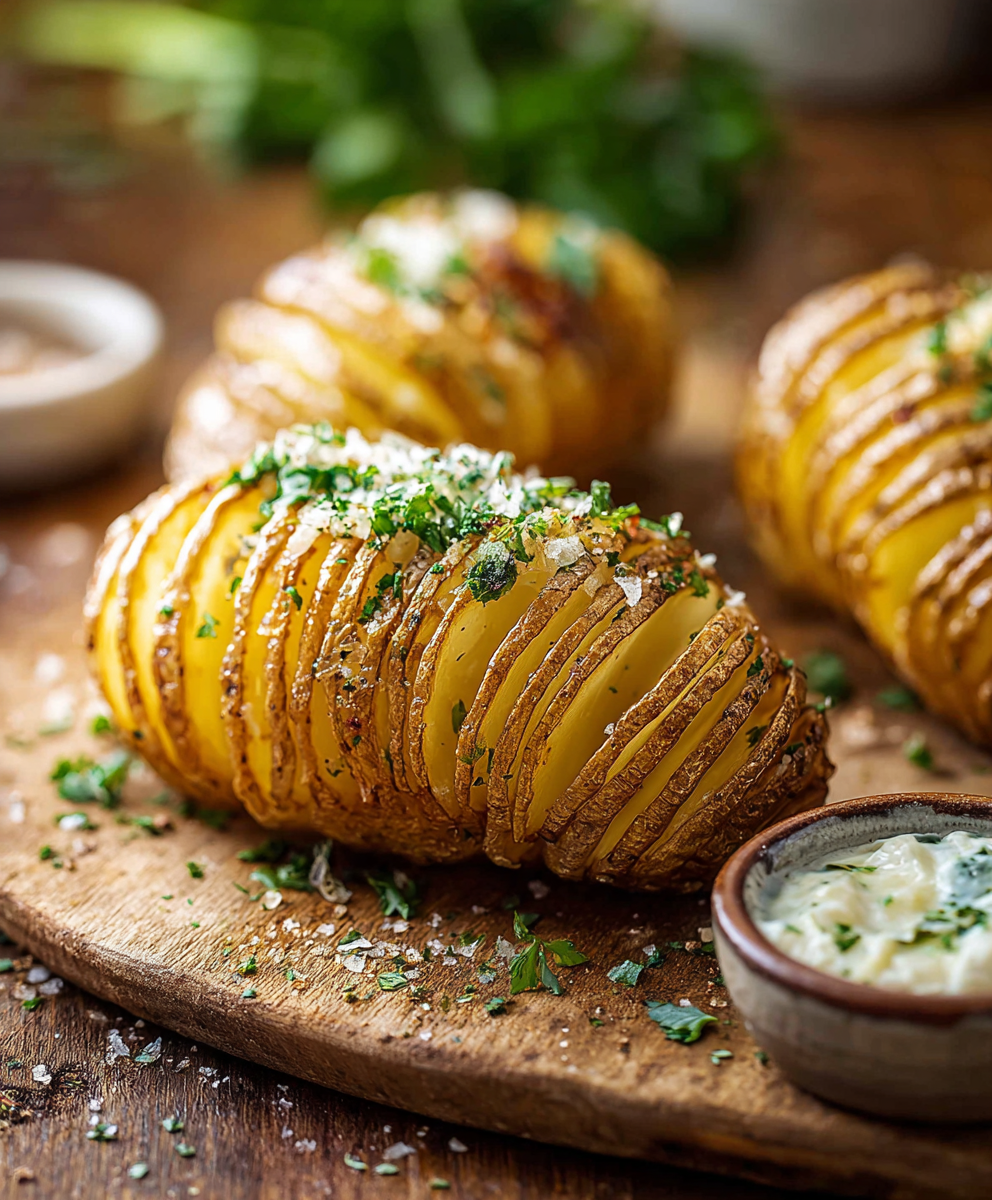
Crispy on the outside, tender on the inside, these Hasselback potatoes are an elegant yet simple side that elevates weeknight meals and special dinners alike.

This recipe for Hasselback potatoes has been my go to for family dinners and casual dinner parties for years. I first learned the technique while helping a friend prepare a holiday meal, and the thin fan like slices that crisp at the edges while staying pillowy in the center instantly felt like magic. Since then these potatoes have been served for birthdays, cozy Sunday suppers, and impromptu gatherings because they are both striking on the plate and forgiving at the oven.
What makes this version special is the balance between technique and ease. The cuts are precise enough to allow the butter to reach into the crevices, creating layers of flavor and texture, yet simple enough that you do not need special tools. The result is a potato that offers a crisp outer shell with soft, steaming interiors and a buttery aroma that makes every forkful feel indulgent. I remember one winter evening when a picky teenager who normally avoids roasted vegetables declared these the best potatoes ever and asked for one every time we make them.
Personally I love how the family always gathers around the oven while the potatoes finish baking, just to see the crisping edges. I have small tricks I learned over time, including using chopsticks to protect the bottoms while cutting and brushing butter into the slits early to ensure even browning. Those small moments of attention make the dish feel special without adding stress.

One of my favorite aspects is the ceremony of brushing on the second coat of butter and watching the slices bloom. At a dinner once, an older family member remarked it reminded her of a restaurant treat from childhood, which made the moment feel nostalgic and communal. The technique is forgiving and allows for little playful variations that always delight guests.
Store leftovers in an airtight container in the refrigerator for up to four days. To reheat and restore crisp edges, place on a baking sheet in a 400 degrees Fahrenheit oven for about ten to fifteen minutes, or until heated through and edges are crisp. Avoid reheating in the microwave for long periods, as that will make the texture soggy. If you parbake and freeze for later, cool completely, wrap each potato individually in plastic wrap, and place into a freezer safe container. To finish from frozen, bake at 425 degrees Fahrenheit for about thirty to forty minutes until hot and crisp.
If you prefer olive oil over butter for a dairy free version, brush the slices with two to three tablespoons of extra virgin olive oil before baking, and finish with additional oil if needed. For a richer finish, grate one quarter to one half cup of Parmesan or aged cheddar over the potatoes during the final ten minutes of baking. If you use smaller potatoes, reduce bake times by five to ten minutes, and for very large potatoes increase the second bake by ten to fifteen minutes. Use sea salt in place of kosher salt but adjust the quantity to taste.
Serve these potatoes alongside roast chicken, pan seared fish, or a hearty vegetarian stew. Garnish with chopped fresh parsley, chives, or a light drizzle of garlic oil for a flavor lift. For a festive plate, top with a dollop of sour cream and a scattering of crisp bacon and scallions. They also pair well with a simple green salad dressed with lemon and olive oil to cut the richness.
Hasselback style originated in Sweden, named after a Stockholm restaurant where the technique gained popularity. The method transformed ordinary roasted potatoes into an elegant form, and it has been adopted around the world with many local twists. In Sweden the potatoes were often served with butter and breadcrumbs, while other cultures add cheeses or herb mixtures. The approach celebrates texture and presentation, making a humble tuber into a centerpiece.
In spring and summer, top the finished potatoes with fresh herbs and a squeeze of lemon for brightness. In fall and winter, try brown butter and sage or a sprinkle of smoked paprika for warmth. Holiday variations with roasted garlic and grated nutmeg can complement richer mains, while a bright herb gremolata adds freshness for warmer months.
For efficient meal prep, slice and parbake the potatoes until just tender, then cool and refrigerate up to two days. When ready to serve, brush with the reserved butter or oil and finish baking to achieve crisp edges. Use shallow metal pans for the best heat conduction. Label your containers with the date and reheating instructions so you can quickly pull a special side from the fridge or freezer on busy nights.
These potatoes are a joy to make and share. The technique is simple, yet the result feels celebratory. Try them this week and make small changes to match your mood and menu. I hope they become a staple in your home as they are in mine.
Use chopsticks or wooden skewers as a guide so the knife stops before the base and the potato stays intact.
Brush half of the melted butter before the first bake and the rest after you separate the slices to get deep flavor and crisp edges.
Place the baking sheet on the middle rack and use an unlined sheet so the heat crisps the underside of the potatoes.
If you want extra richness, add grated hard cheese for the last ten minutes of baking.
Test doneness by piercing the thickest part with a fork, aiming for tender but not falling apart.
This nourishing perfect hasselback potatoes recipe is sure to be a staple in your kitchen. Enjoy every moist, high protein slice — it is perfect for breakfast or as a wholesome snack any time.
If you parbake and freeze, wrap tightly and finish in a hot oven to restore crispness. From frozen allow thirty to forty minutes at 425 degrees Fahrenheit.
Use a sharp chef knife and cut until the knife hits the chopstick. The chopstick prevents slicing through the base.
This Perfect Hasselback Potatoes recipe makes perfectly juicy, tender, and flavorful steak every time! Serve with potatoes and a side salad for an unforgettable dinner in under 30 minutes.
Arrange a rack in the middle oven position and preheat to 425 degrees Fahrenheit. Set aside an unlined baking sheet so it heats evenly and helps the bottoms crisp.
Position one potato between two chopsticks or wooden skewers to act as a guard and prevent cutting through the base. This creates the classic fan shape while keeping the potato intact.
Using a sharp chef knife, cut vertical slices about one eighth inch apart, cutting down until the knife meets the chopstick. Keep the slices even for uniform cooking and repeat with remaining potatoes.
Place the potatoes on the unlined baking sheet and brush about half of the melted butter over the outside and into the slits. Season with kosher salt and black pepper to begin flavoring the flesh.
Bake for thirty minutes to soften the interior and start browning the edges. This step creates space between layers for the final butter coat to penetrate.
Gently pull the layers apart with a knife tip or spatula then brush on the remaining butter. Return to the oven and bake for thirty to thirty five minutes until the edges are crisp and the interior is tender when pierced.
Remove from the oven and season to taste. Serve immediately with optional garnishes such as chopped herbs, grated cheese, or a dollop of sour cream.
Last Step: Please leave a rating and comment letting us know how you liked this recipe! This helps our business to thrive and continue providing free, high-quality recipes for you.
Leave a comment & rating below or tag
@royalrecipe on social media!

Learn how a 5-minute prep transforms a whole garlic bulb into silky, caramelized cloves in the air fryer. Perfect as a spread, mix-in, or flavor booster that elevates weeknight meals and party plates.
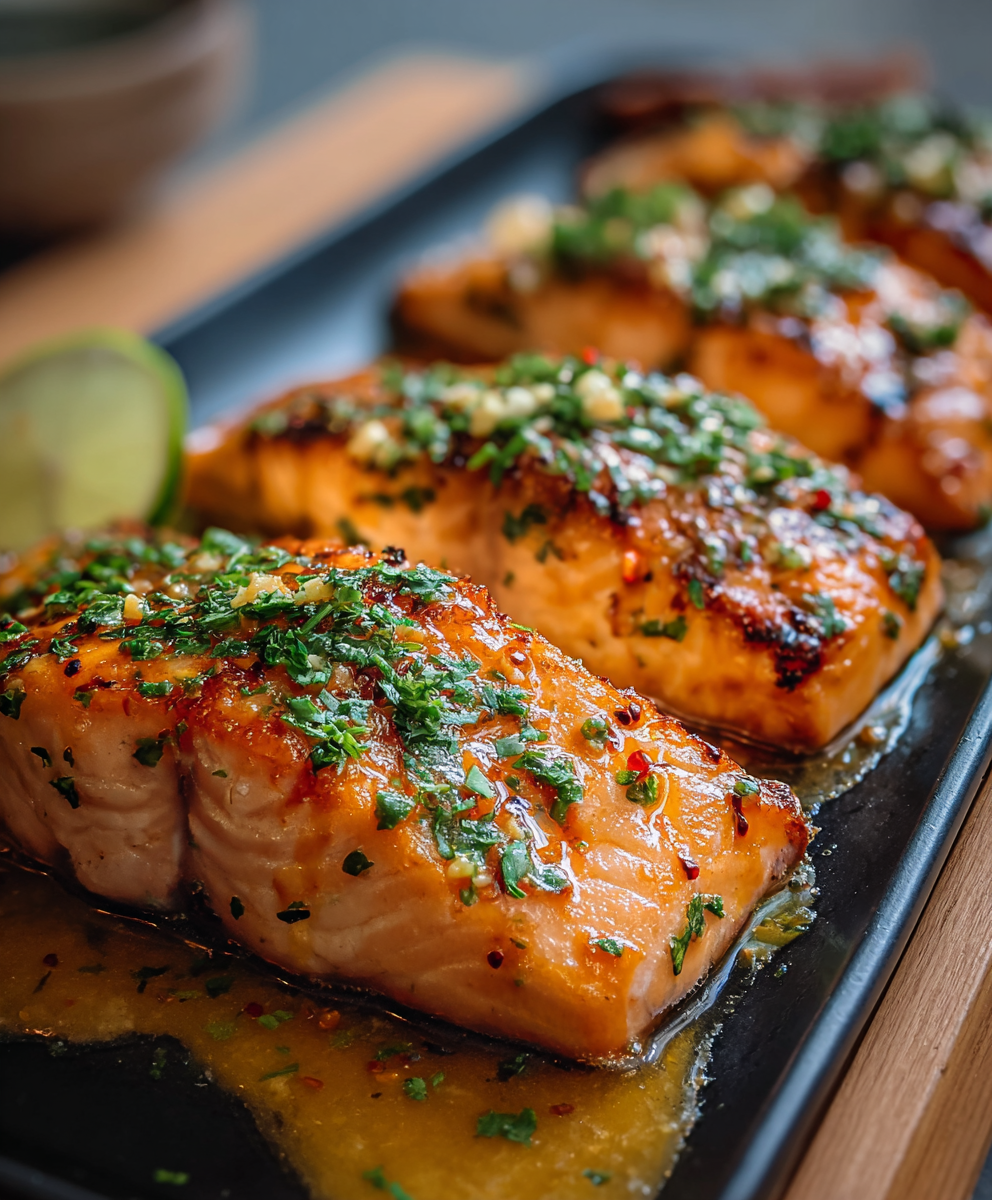
A bright, spicy and slightly sweet salmon dish finished with a creamy bang bang sauce. Ready in 15 minutes, it delivers restaurant flavor with weeknight ease.

A comforting, protein-packed twist on classic pot pie flavors, transformed into a creamy, one-pot soup that is perfect for weeknights and meal prep.
Leave a comment & rating below or tag @royalrecipe on social media!
Enjoyed this recipe? Share it with friends and family, and don't forget to leave a review!
This recipe looks amazing! Can't wait to try it.
Comments are stored locally in your browser. Server comments are displayed alongside your local comments.

Join to receive our email series which contains a round-up of some of our quick and easy family favorite recipes.