>>
30-MINUTE MEALS! Get the email series now →


Crispy shells filled with seasoned beef, melted cheese, and fresh toppings — an easy oven-baked riff on classic tacos that feeds a crowd.
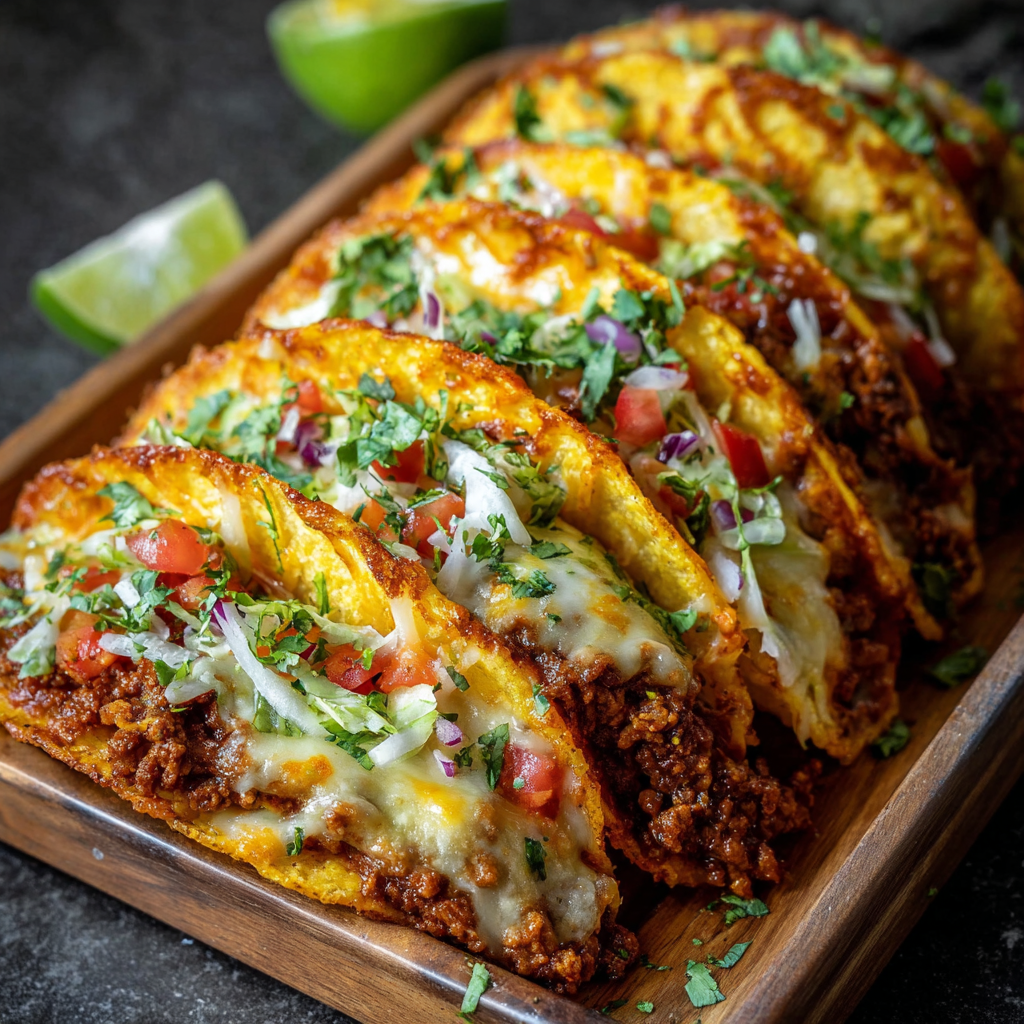
This oven-baked version of family tacos became a weekday hero in my kitchen the moment I tried it. I discovered the method one busy weeknight when I wanted the bold flavors of tacos without standing over the stove or wrestling with fragile shells on the grill. The result is a tray of perfectly crisped shells holding a juicy, well-seasoned beef mixture and a blanket of melted cheese that keeps everything warm and gooey as you serve. The texture contrast between crunchy shell and tender filling makes every bite memorable.
I first tested this method on a rainy afternoon when friends were stopping by and I needed something that could be assembled quickly and finished in the oven. It was an instant hit. My husband declared it an upgrade of our taco night, and the next day our teenage niece requested them for her lunch. The flavors are straightforward yet versatile, with garlic and onion building the savory base, tomato sauce adding body, and a good taco seasoning bringing classic warmth. A quick assembly and 10 minutes in a hot oven delivers tacos that are crisp, cheesy, and satisfying.
When I first served these at a small get-together the group loved the crisp edges and gooey cheese, and they were gone in minutes. I enjoy how forgiving the method is; even if shells overlap slightly they crisp up and hold their shape, and leftovers reheat nicely under a broiler for a minute to revive the crunch.
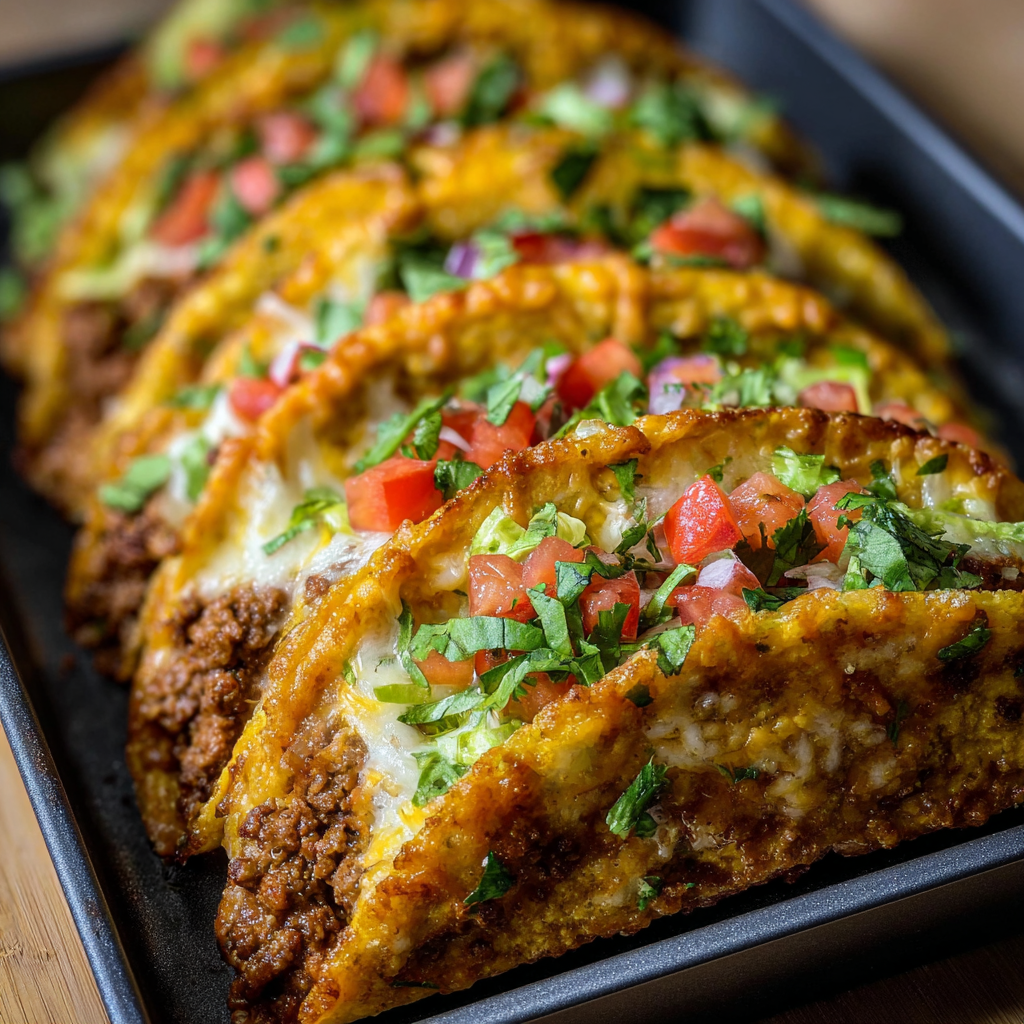
My favorite aspect of this method is how forgiving it is. Even when guests arrive late and I need to hold the tray for a few minutes, the shells stay sturdy and the cheese protects the filling from drying out. That combination of practicality and indulgence is why this version has become my go to when I need to feed a hungry group fast.
To refrigerate leftovers, transfer cooled tacos to an airtight container or wrap individual tacos in foil and store for up to 3 days. If shells soften, reheat in a 375 degree Fahrenheit oven directly on a rack for 5 to 8 minutes to revive crispness. For the filling alone, cool and store in an airtight container for up to 4 days in the fridge. Freeze the filling in meal sized portions for up to 3 months and thaw overnight in the refrigerator before reheating gently on the stove.
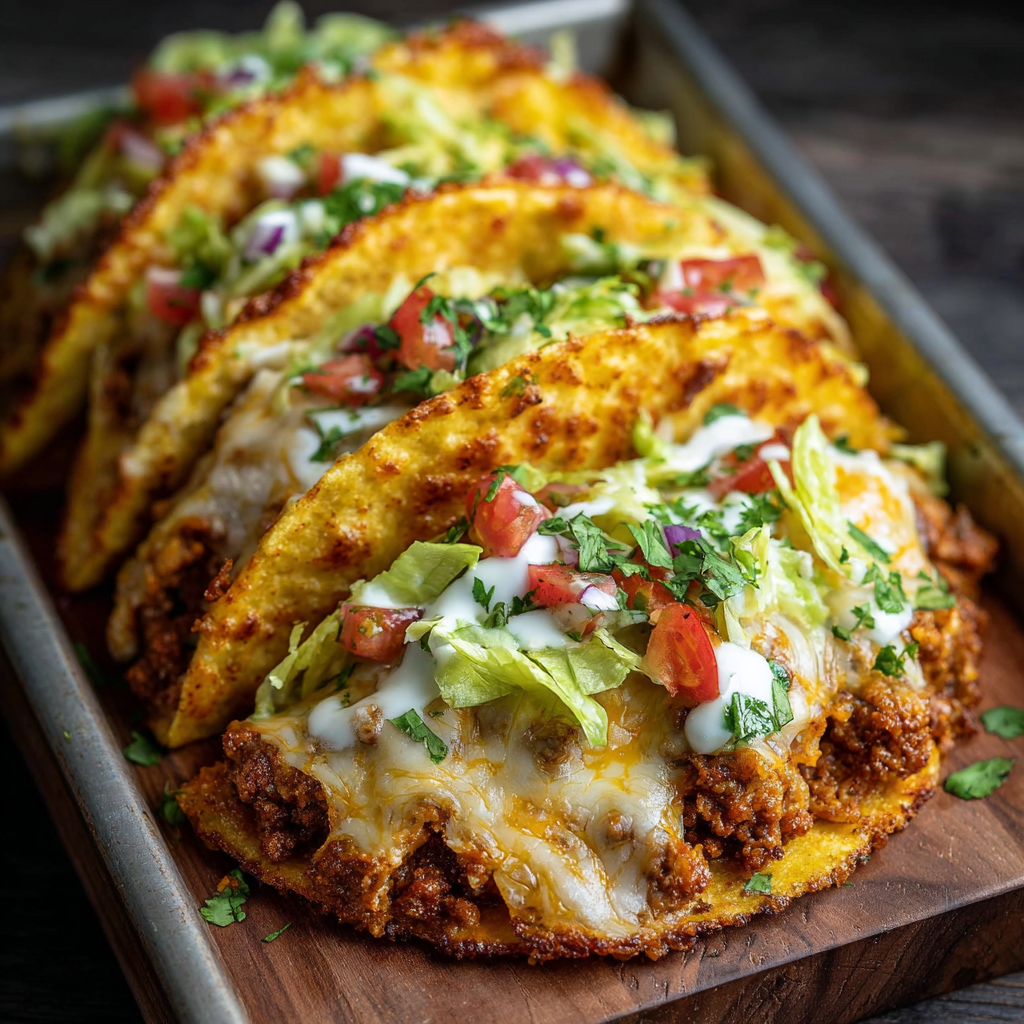
If you want to lighten the dish, substitute ground turkey or chicken for beef and choose reduced fat cheese. For a vegetarian option use seasoned crumbled firm tofu, lentils, or a mixture of sautéed mushrooms and beans as a hearty filling. Swap tomato sauce with salsa verde for a brighter acidity, or add a tablespoon of lime juice at the end for freshness. If corn shells are unavailable and you need a gluten free option, look for certified gluten free shells or use large romaine leaves for a no bake, low carb alternative.
Serve these tacos with a simple cilantro lime rice, black beans, or a fresh corn and avocado salad. Offer bowls of shredded lettuce, pico de gallo, guacamole, sliced jalapeños, and sour cream so guests can customize. For a party, arrange tacos on a large board with garnishes around the tray for easy reach. Pair with a light lager, sparkling water with lime, or a margarita for a festive touch.
Tacos are a versatile staple originating from Mexico where fillings vary widely by region. This oven baked approach borrows from American adaptations where convenience and uniform crisping are priorities. The foundational flavors remain Mexican inspired with cumin, chili, and fresh cilantro. While not a traditional street taco, this version respects the balance of savory cooked filling and bright fresh toppings that define the taco experience.
In summer use fresh salsa made from ripe tomatoes, onions, and cilantro to brighten the filling. In cooler months add roasted butternut squash or caramelized onions to the meat for depth. For taco nights during holidays, offer a topping bar with roasted corn, pickled onions, and a smoky chipotle crema to elevate the flavors without changing the basic method.
Cook the filling up to two days in advance and store chilled. Keep shells separate to avoid sogginess and assemble just before baking. Portion the filling into 8 equal amounts using an ice cream scoop for consistent servings when assembling multiple trays. Bring the filling to room temperature for 10 minutes before spooning into shells if refrigerated cold, this helps maintain oven time accuracy.
This dish brings people together with minimal fuss. It is easy to adapt, feeds a crowd, and still feels special because of the contrast between crisp shells and gooey cheese. Give it a try and make it your family standard.
Brown the meat well and drain excess fat to avoid greasy tacos.
Use a metal rimmed baking sheet and foil for even heat and easy cleanup.
Shred cheese from a block for better melt and less anti caking agents.
Let tacos rest 1 to 2 minutes after baking so the cheese sets slightly and topping assembly is easier.
This nourishing oven-baked cheesy tacos recipe is sure to be a staple in your kitchen. Enjoy every moist, high protein slice — it is perfect for breakfast or as a wholesome snack any time.
Yes. Oven baked tacos can be made ahead by preparing the filling up to 48 hours in advance. Store filling refrigerated and assemble and bake just before serving to preserve crispness.
Yes. Store cooked filling in the freezer for up to three months in airtight containers. Thaw overnight in the refrigerator and reheat on the stove before assembling.
This Oven-Baked Cheesy Tacos recipe makes perfectly juicy, tender, and flavorful steak every time! Serve with potatoes and a side salad for an unforgettable dinner in under 30 minutes.
Heat a large skillet over medium high. Add 1 pound ground beef and break it up with a spatula. Cook until browned, about 6 to 8 minutes. Drain excess fat if necessary.
Reduce heat to medium and add the finely diced onion. Cook until translucent, then stir in 2 cloves minced garlic and cook 30 seconds until fragrant.
Sprinkle 1 packet taco seasoning over the meat, add 2 thirds cup tomato sauce or salsa, stir to combine, and simmer 2 to 3 minutes to meld the flavors.
Preheat oven to 400 F. Arrange 8 hard shells on a rimmed baking sheet so they stand upright. Line with foil for easier cleanup.
Spoon two to three tablespoons of filling into each shell. Top each with a generous sprinkle of shredded cheese, about 1/4 cup per two shells on average.
Bake 8 to 10 minutes until cheese melts and shells crisp. For extra browning, broil 30 to 60 seconds while watching closely.
Let rest 1 to 2 minutes. Add shredded lettuce, diced tomatoes, red onion, cilantro, and optional sour cream or guacamole. Serve immediately.
Last Step: Please leave a rating and comment letting us know how you liked this recipe! This helps our business to thrive and continue providing free, high-quality recipes for you.
Leave a comment & rating below or tag
@royalrecipe on social media!
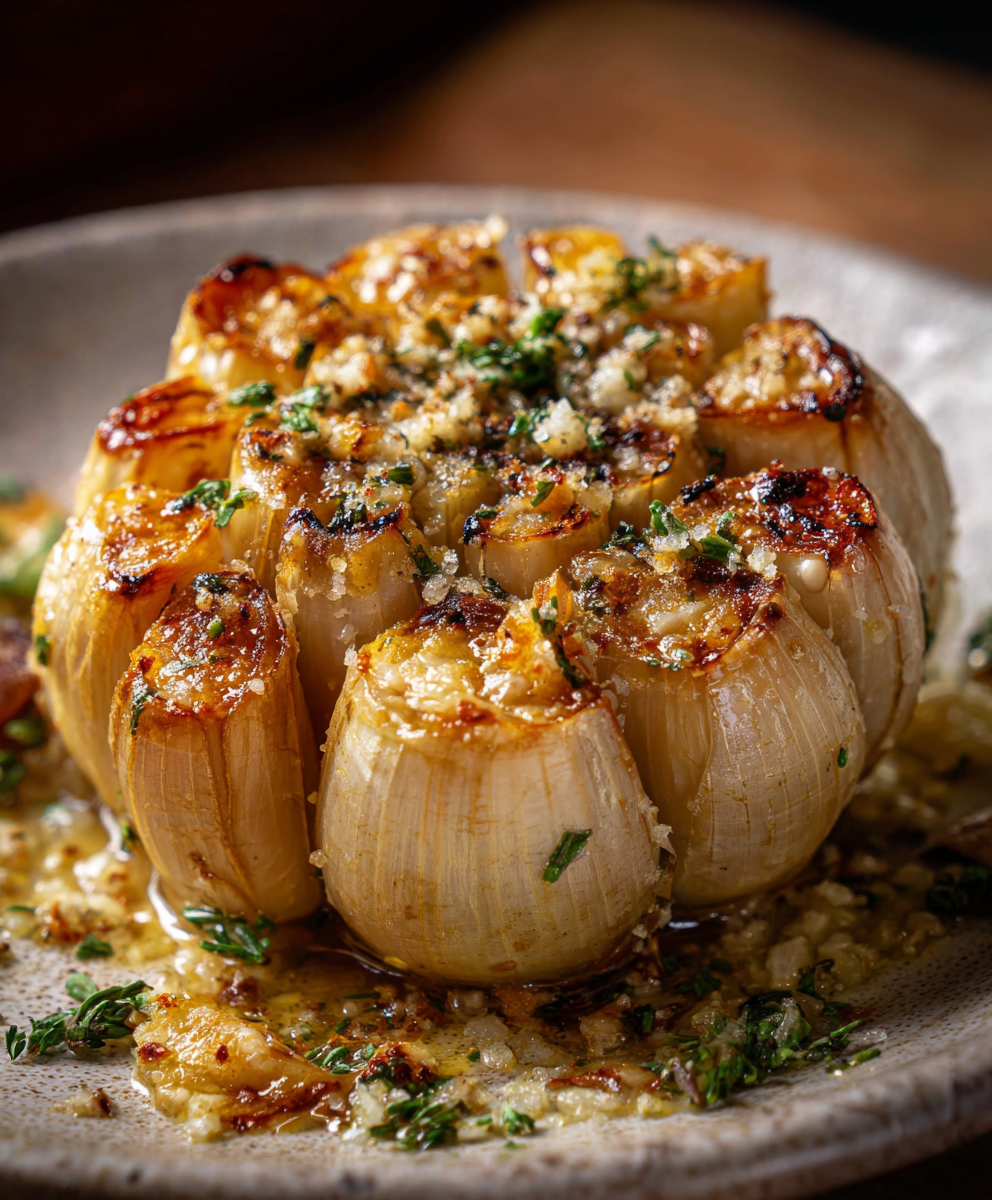
Learn how a 5-minute prep transforms a whole garlic bulb into silky, caramelized cloves in the air fryer. Perfect as a spread, mix-in, or flavor booster that elevates weeknight meals and party plates.
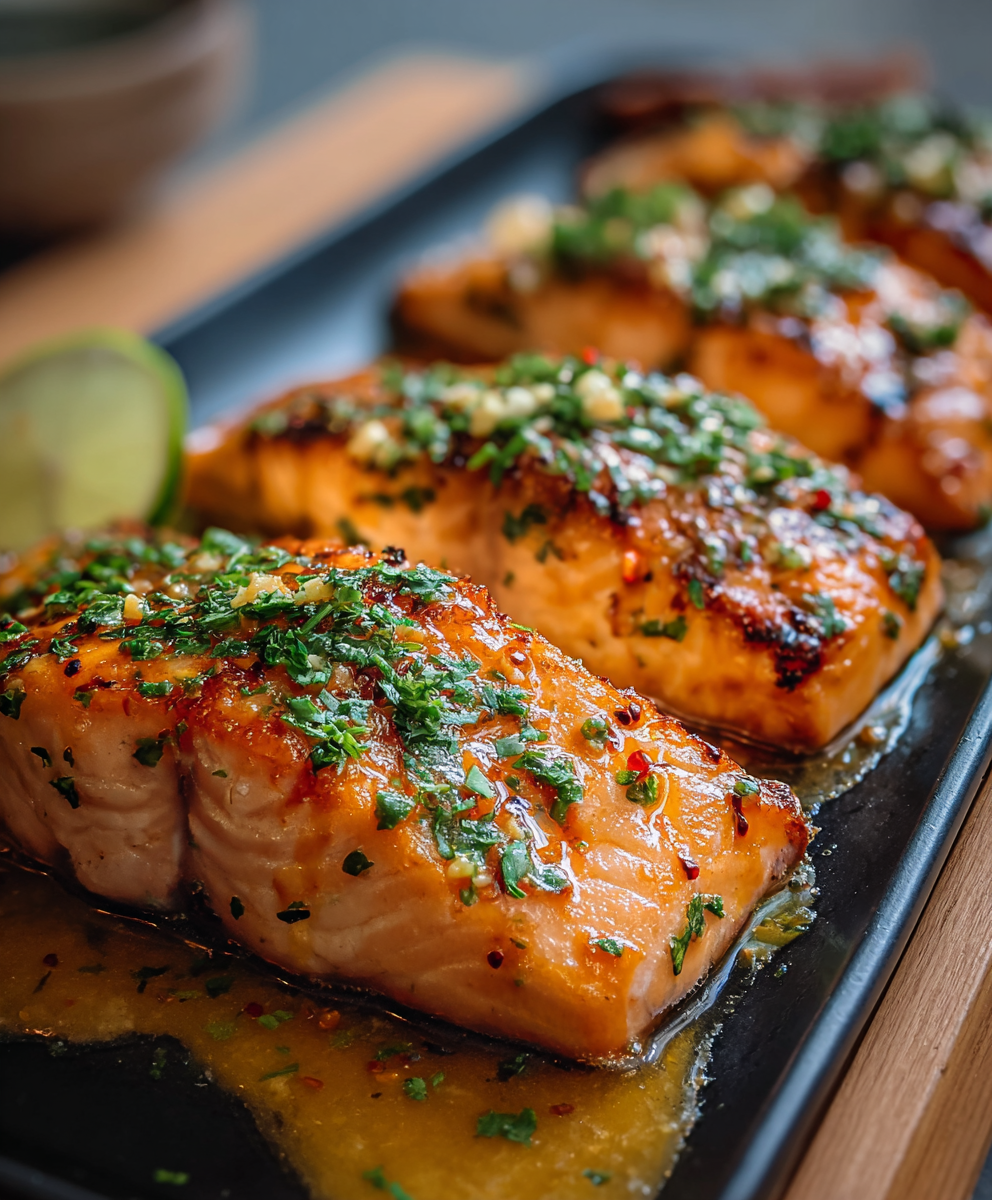
A bright, spicy and slightly sweet salmon dish finished with a creamy bang bang sauce. Ready in 15 minutes, it delivers restaurant flavor with weeknight ease.

A comforting, protein-packed twist on classic pot pie flavors, transformed into a creamy, one-pot soup that is perfect for weeknights and meal prep.
Leave a comment & rating below or tag @royalrecipe on social media!
Enjoyed this recipe? Share it with friends and family, and don't forget to leave a review!
This recipe looks amazing! Can't wait to try it.
Comments are stored locally in your browser. Server comments are displayed alongside your local comments.

Join to receive our email series which contains a round-up of some of our quick and easy family favorite recipes.