
No-Bake Biscoff Cookie Truffles

Creamy, crunchy, and impossibly easy no-bake truffles made from Biscoff cookies, cream cheese, and silky white chocolate—perfect for parties or an indulgent weeknight treat.
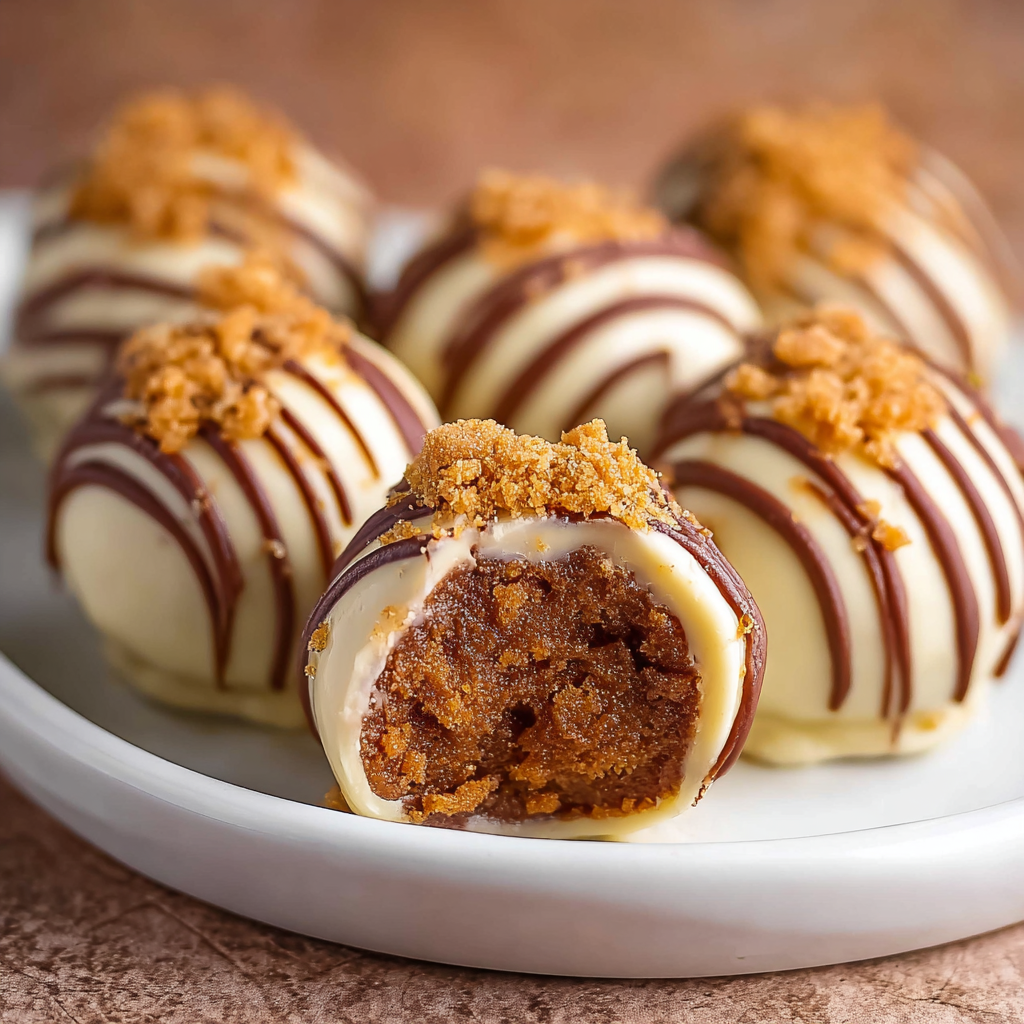
This recipe was born out of a late-night craving and the jarred memory of my first spoonful of Biscoff cookie butter. I made these truffles on a whim the winter my sister came to visit, and the result was addictively simple: crunchy cookie crumb, tangy cream cheese, and a glossy white chocolate coating. They are small, sumptuous bites that balance sweet and slightly spiced cookie notes with a velvety center. From the first time I rolled that dough between my palms I knew they would become a staple for holiday plates and last-minute hostess gifts.
I discovered this combination while rummaging through the pantry for something to serve with coffee during an afternoon of baking prep. With only five ingredients and no oven required, the batch came together before the kettle boiled. The texture is the magic—the interior is moist and almost cheesecake-like, while the exterior crackles when you bite into the white chocolate shell. Friends and family always comment that they taste far fancier than they are to make, which makes these an instant favorite for potlucks and weeknight indulgences.
Why You'll Love This Recipe
- Ready in under an hour of active time: the dough mixes in minutes and chilling does the rest, making these ideal for quick party prep.
- Uses pantry staples: store-bought Biscoff cookies and cookie butter mean no specialty shopping is required.
- Make-ahead friendly: you can form the centers days in advance and dip them when guests arrive, saving time on the day.
- Kid-friendly and crowd-pleasing: sweet, creamy, and perfectly portioned—great for buffets and gift boxes.
- Flexible: swap the coating, drizzle different toppings, or adjust sweetness with darker chocolate or a pinch of sea salt.
- No oven needed: perfect for warm-weather gatherings or when your oven is already occupied.
When I brought these to my sister's coffee morning, they vanished first. The crunchy, caramel-like Biscoff crumb paired with the tang of cream cheese surprised everyone in the best way. They’re deceptively simple but feel indulgent—an easy way to impress without stress.
Ingredients
- Biscoff cookies (45 whole cookies): Use Lotus Biscoff if you can; the cookies are lightly spiced and crisp, which gives the truffles their signature caramelized flavor and texture.
- Biscoff cookie butter (1/4 cup): Adds moisture and intensifies the cookie flavor in the center; creamy, runny varieties melt in more smoothly—brand matters for sweetness level.
- Cream cheese (8 ounces), softened: Full-fat cream cheese gives the best mouthfeel and stability; room temperature makes blending effortless and silky.
- White chocolate (10–12 ounces), finely chopped: Choose good-quality couverture-style or a premium bar for a glossy, firm coating that snaps when set.
- Biscoff cookie butter (2 tablespoons), optional topping: Warm briefly until pourable to drizzle over the coated truffles for a pretty finishing touch.
Instructions
Prep the Workstation and Lining: Line a baking sheet with parchment paper and set it aside. Chilling space is important; reserve a shelf in the fridge or the top of the freezer so the formed balls set quickly and evenly. Process the Cookies: Place the Biscoff cookies in a food processor and pulse until fine crumbs form with the texture of coarse sand. The finer the crumbs, the smoother the center will be—stop and scrape the bowl once or twice to ensure even processing. Combine Ingredients to Make Dough: Warm 1/4 cup cookie butter in a microwave-safe bowl for 15–20 seconds, stirring until glossy. Add the cookie butter and the softened cream cheese to the food processor and pulse until the mixture forms a uniform, thick dough. The dough should hold together when pressed but not be overly sticky; if too soft, chill briefly. Form the Centers: Use a small cookie scoop or a tablespoon to portion dough, then roll between your palms into 1-inch balls. Arrange them on the lined baking sheet spaced slightly apart. For neat edges, chill until firm—at least 1 hour in the refrigerator or 20 minutes in the freezer for quicker setting. Melt the Coating: Before removing the centers from the fridge, melt the white chocolate in a microwave in 30-second bursts, stirring after each interval until smooth. Do not overheat; white chocolate burns easily and will seize into a grainy texture if overheated. Coat the Truffles: Using a fork or dipping tool, lower each chilled ball into the melted white chocolate to coat completely. Tap the fork against the bowl to let excess drip off, then transfer back to the parchment-lined sheet. Work quickly but gently—the chilled centers help the coating set with a glossy finish. Set and Decorate: Return the baking sheet to the refrigerator and chill for another hour, or until the coating is completely set. If desired, microwave 2 tablespoons of cookie butter for 10–15 seconds until pourable and drizzle or pipe over the set truffles. Chill briefly to fix the decoration, then serve.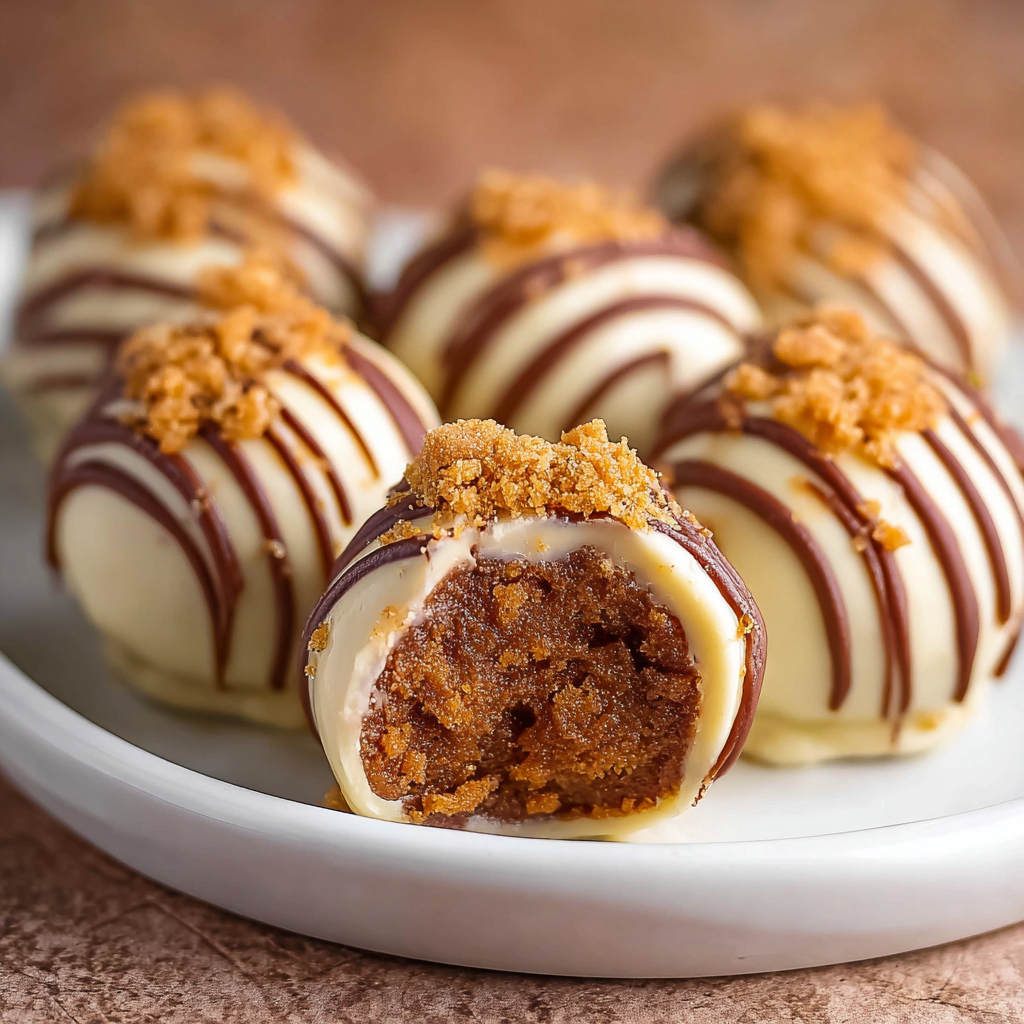
You Must Know
- These treats keep well refrigerated for up to 7 days and freeze for up to 3 months when stored airtight; thaw overnight in the fridge before serving.
- High in flavor and calories—small portions go a long way; estimate about 120 calories per truffle depending on coating and cookie butter amount.
- White chocolate can be swapped for milk or dark chocolate; darker coatings will yield less sweetness and a firmer snap.
- Because the centers contain cream cheese, they must be kept chilled and not left out for extended periods at room temperature.
What I love most is how versatile these little bites are: they appear elegant on a platter but take minutes to assemble. My neighbor once asked if I had purchased them from a bakery—the secret is simply chilling and a careful dip. They make wonderful gifts when packed in small boxes layered with parchment.
Storage Tips
Store finished truffles in an airtight container lined with parchment to prevent sticking. Refrigerate for up to 7 days; if stacking, separate layers with parchment. For longer storage, freeze in a single layer on a sheet tray until solid, then transfer to a freezer-safe container for up to 3 months. To serve, thaw overnight in the refrigerator to avoid condensation on the chocolate shell; allow 15–30 minutes at room temperature before serving for the best texture.
Ingredient Substitutions
If you cannot find Biscoff cookies, graham crackers or speculoos-style cookies are good alternatives—expect subtle differences in spice and sweetness. For a dairy-free option, use vegan cream cheese and dairy-free white chocolate; the texture may be slightly softer, so increase chilling time. Swap white chocolate for semisweet or dark chocolate for less sweetness and a firmer shell. If you want extra crunch, fold in finely chopped toasted nuts at a 1:8 ratio of nuts to total dough weight.
Serving Suggestions
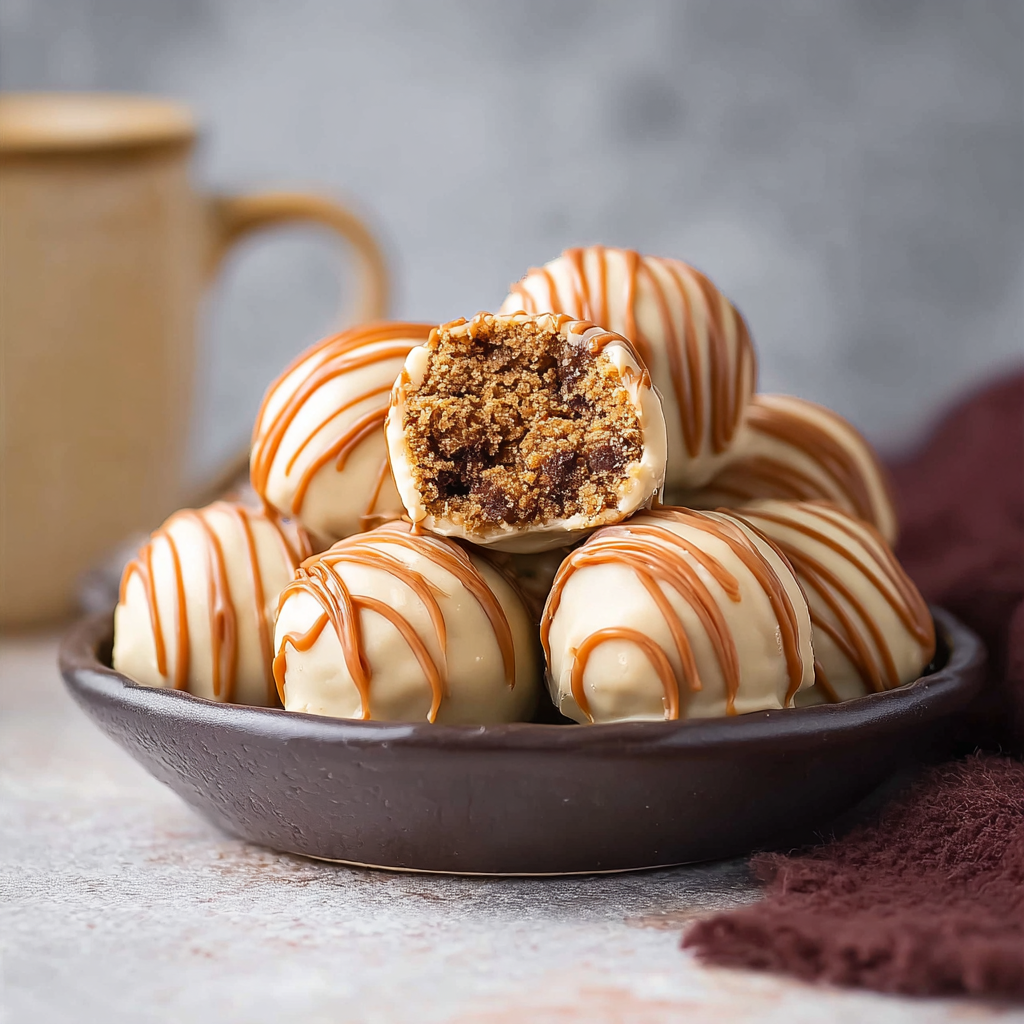
Serve on a small dessert platter with a garnish of crushed Biscoff crumbs or a few whole cookies for contrast. Pair with espresso or a robust black tea to complement the caramelized cookie spice. For holiday parties, dust lightly with fine powdered sugar or add edible gold flakes for an elegant touch. These are excellent boxed as gifts—place six to eight in a small gift box with tissue paper and a ribbon.
Cultural Background
These truffles are a contemporary, no-bake take inspired by classic European cookie spreads and American candy techniques. Lotus Biscoff itself originated in Belgium and gained popularity for its caramelized flavor and spiced profile. Combining crushed cookies with cream cheese is a technique borrowed from no-bake torte and candy making; the contrast of a creamy interior and a hard shell is a universal approach found in many confection traditions.
Seasonal Adaptations
In winter, add a pinch of ground cinnamon and nutmeg to the center for extra warmth. For spring, fold in finely grated lemon zest to cut sweetness with citrus brightness and use white chocolate for a fresh look. Around holidays, swap the drizzle for melted dark chocolate and sprinkle with crushed peppermint or toasted hazelnuts for a festive twist. Adjust chilling times slightly when making larger batches in very warm kitchens.
Meal Prep Tips
Make the centers two days ahead and keep them chilled; dip and decorate on the day you plan to serve so coatings remain glossy and snap cleanly. Use a small cookie scoop to ensure uniform sizes for even chilling and elegant presentation. When working in batches, keep the melted coating warm in short microwave bursts, stirring frequently to maintain a smooth texture. Label containers with production dates if storing in the freezer.
These truffles are proof that small, thoughtful techniques—proper chilling, quality ingredients, and a steady hand while dipping—turn a handful of pantry staples into something memorable. Share them, gift them, or hide them in the fridge for a special solo treat. I hope these become a go-to solution whenever you want quick, impressive sweets.
Pro Tips
Chill the centers thoroughly before dipping to get a smooth, glossy coating without cracking.
Work in small batches when dipping so the melted chocolate stays at an even temperature.
Use a small cookie scoop for uniform truffles and even chilling.
This nourishing no-bake biscoff cookie truffles recipe is sure to be a staple in your kitchen. Enjoy every moist, high protein slice — it is perfect for breakfast or as a wholesome snack any time.
FAQs about Recipes
Can these be frozen?
Yes. You can freeze the truffles for up to 3 months in an airtight container. Thaw overnight in the refrigerator before serving.
How do I re-melt the chocolate or cookie butter if it cools?
Use a bowl of warm water to reheat the drizzle if it firms up. For chocolate coating, warm in 10–15 second intervals and stir.
Tags
No-Bake Biscoff Cookie Truffles
This No-Bake Biscoff Cookie Truffles recipe makes perfectly juicy, tender, and flavorful steak every time! Serve with potatoes and a side salad for an unforgettable dinner in under 30 minutes.
Ingredients
Main
Instructions
Prep and line pan
Line a baking sheet with parchment paper and set aside so you have a dedicated chilled surface for the truffles to set.
Process cookies
Pulse 45 Biscoff cookies in a food processor until they form fine crumbs, scraping the bowl occasionally for even texture.
Make dough
Warm 1/4 cup cookie butter for 15–20 seconds until pourable. Add warmed cookie butter and 8 ounces softened cream cheese to the cookie crumbs and pulse until a uniform dough forms.
Form and chill centers
Scoop dough into 1-inch balls and place on the lined sheet. Chill for at least 1 hour in the refrigerator or 20 minutes in the freezer until firm.
Melt coating
Melt 10–12 ounces white chocolate in 30-second microwave intervals, stirring between bursts until completely smooth. Avoid overheating to prevent seizing.
Dip and set
Dip chilled centers into the melted chocolate using a fork, allow excess to drip, then place on parchment. Chill until coating is set, about 1 hour.
Decorate (optional)
Warm 2 tablespoons cookie butter for 10–15 seconds until pourable, then drizzle over the set truffles. Chill briefly to fix the decoration.
Last Step: Please leave a rating and comment letting us know how you liked this recipe! This helps our business to thrive and continue providing free, high-quality recipes for you.
Nutrition
Did You Make This?
Leave a comment & rating below or tag
@royalrecipe on social media!
Categories:
You might also like...
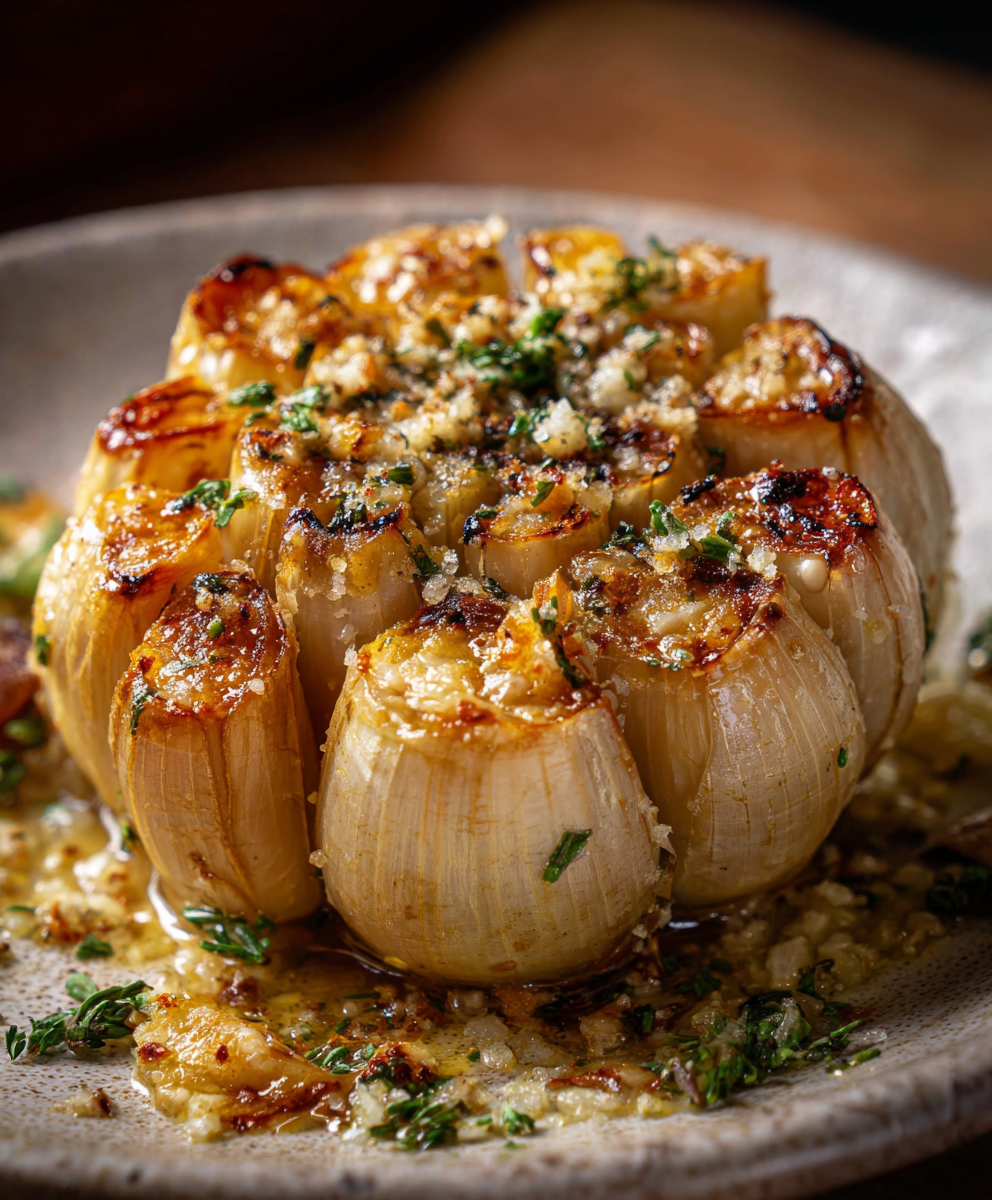
5-Minute Air Fryer Roasted Garlic Magic That Wows
Learn how a 5-minute prep transforms a whole garlic bulb into silky, caramelized cloves in the air fryer. Perfect as a spread, mix-in, or flavor booster that elevates weeknight meals and party plates.

Bang Bang Salmon Made Perfect in Just 15 Minutes
A bright, spicy and slightly sweet salmon dish finished with a creamy bang bang sauce. Ready in 15 minutes, it delivers restaurant flavor with weeknight ease.
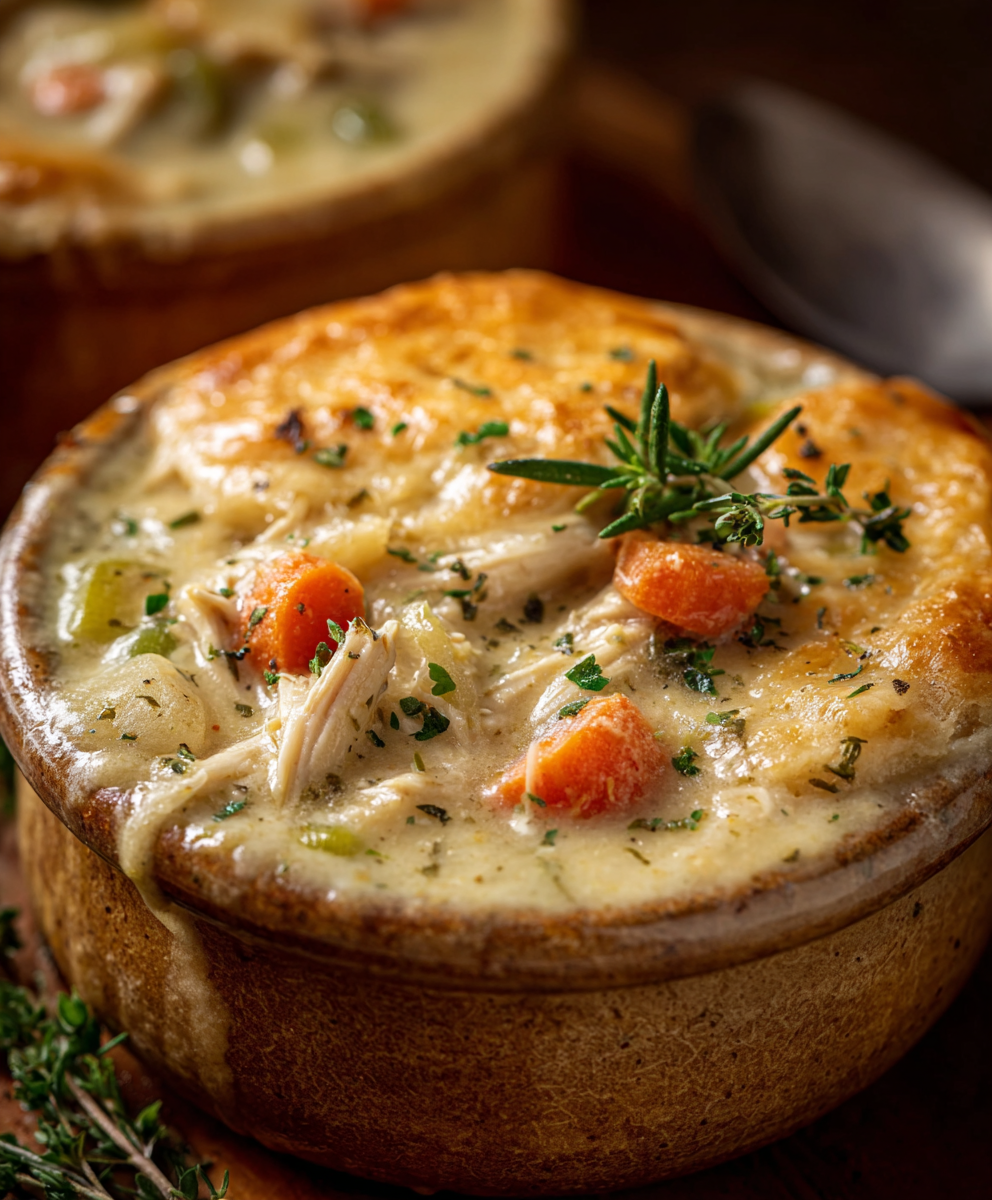
High Protein Chicken Pot Pie Soup
A comforting, protein-packed twist on classic pot pie flavors, transformed into a creamy, one-pot soup that is perfect for weeknights and meal prep.
Did You Make This?
Leave a comment & rating below or tag @royalrecipe on social media!
Rate This Recipe
Share This Recipe
Enjoyed this recipe? Share it with friends and family, and don't forget to leave a review!
Comments (1)
This recipe looks amazing! Can't wait to try it.
Comments are stored locally in your browser. Server comments are displayed alongside your local comments.

Hi, I'm Riley!
What's Popular
30-Minute Meals!
Join to receive our email series which contains a round-up of some of our quick and easy family favorite recipes.