>>
30-MINUTE MEALS! Get the email series now →


Soft, buttery cookie cups studded with red and green sprinkles, filled with creamy vanilla buttercream and finished with extra sprinkles — a festive bite-sized treat perfect for holiday gatherings.
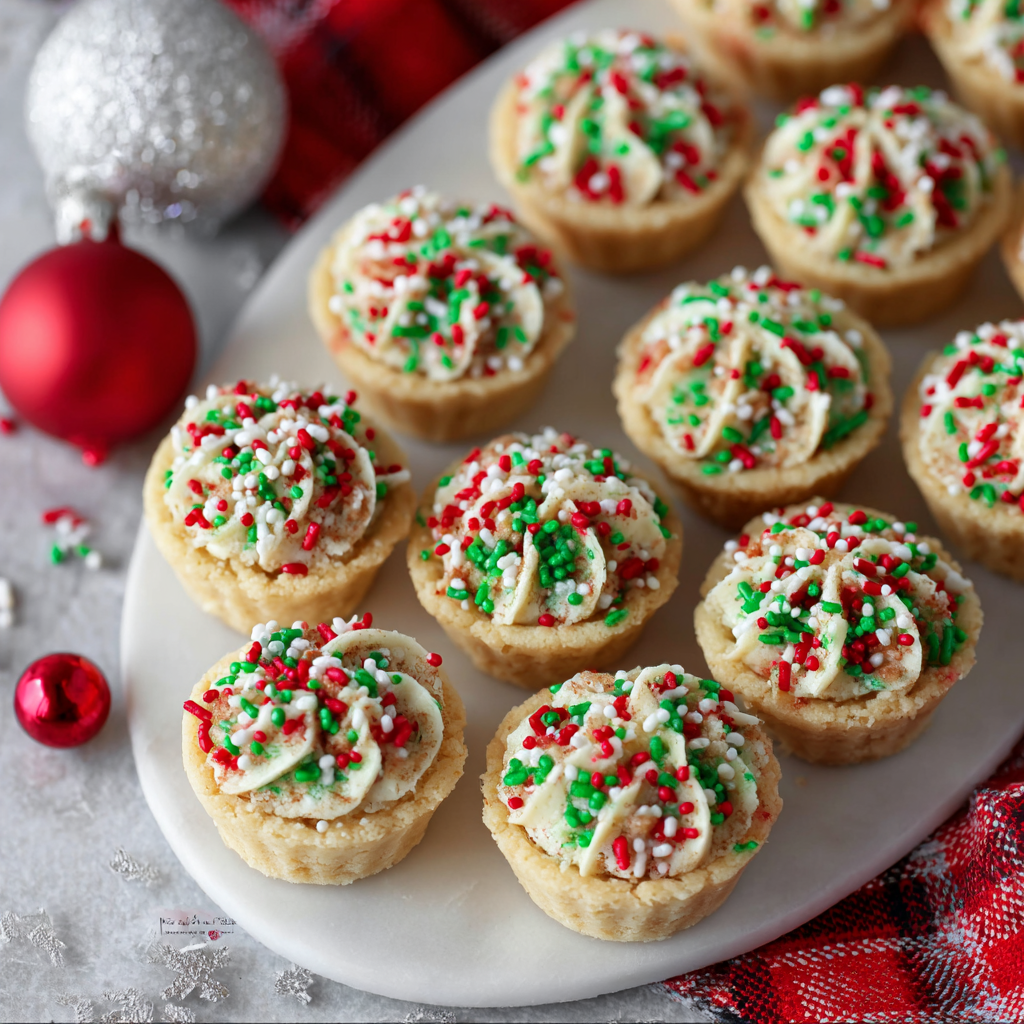
This recipe for Christmas Sprinkle Cookie Cups has been part of my holiday rotation for years — the kind of recipe that announces the season the moment it comes out of the oven. I first developed this version during a December cookie swap when I wanted something that felt festive, easy to share, and just a little bit nostalgic. The dough is tender and buttery, the sprinkles give joyful pops of color and texture, and the vanilla buttercream filling turns each cup into a miniature celebration. My kids call them "snowcap cups" and ask for them every time we put up the tree.
The charm of these cups is in the contrasts: a slightly crisp outer edge, a pillowy interior, and a silky filling that balances sweetness without being cloying. They travel well, make a pretty platter centerpiece, and are forgiving for home bakers — you can chill the dough or press it directly into the pan depending on how much time you have. I usually make a double batch for parties and freeze extras for last-minute hostess gifts; they thaw beautifully.
In my experience, they reliably disappear first at cookie swaps. One year my neighbor took a box into her office and came back with a bag of recipe requests — the bright sprinkles are an immediate attention-grabber, but it's the buttery texture and creamy center that keeps people coming back. I love the mixture of memories these bring: tree-trimming nights, hot cocoa, and the clatter of cookie tins being opened.
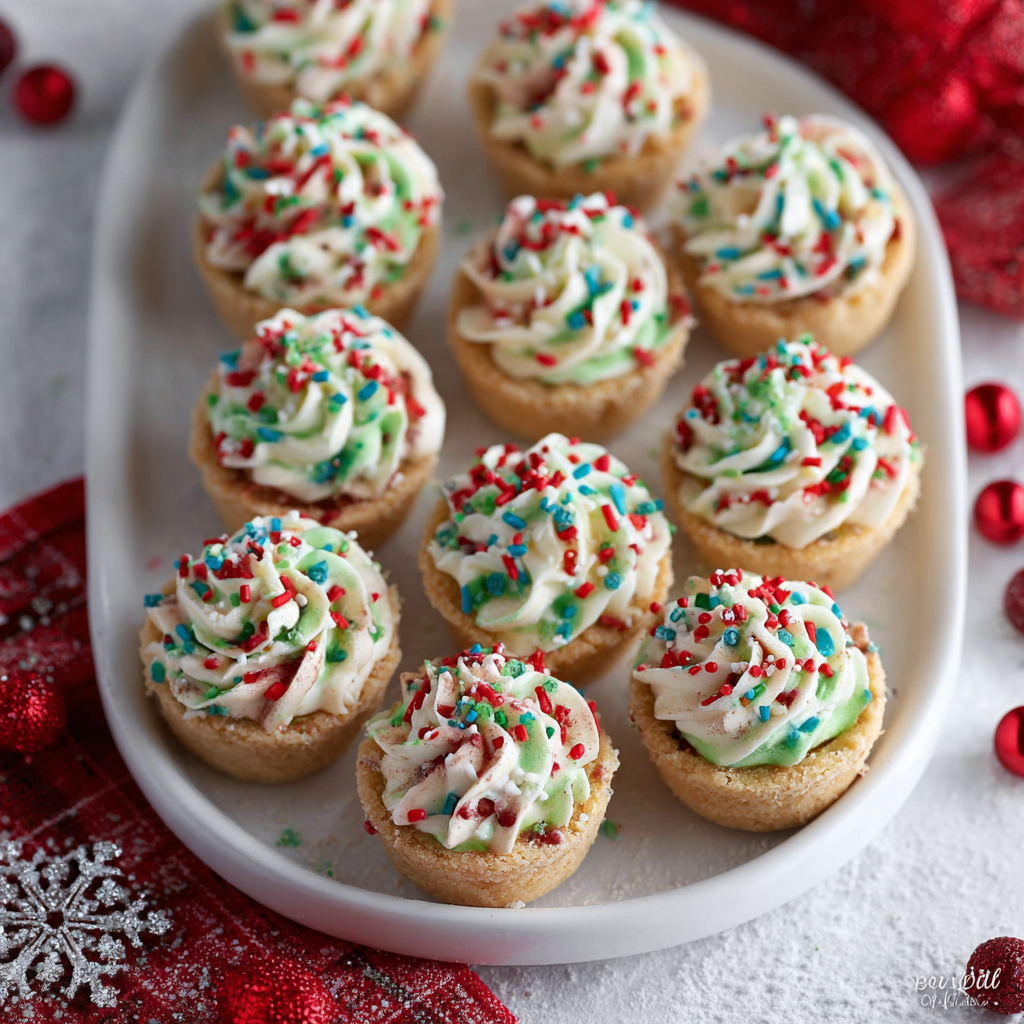
My favorite part is watching guests’ faces when they see the tiny cups with bright sprinkles — they look like edible ornaments. At a recent family brunch, the platter disappeared within minutes. I appreciate how adaptable the filling is; you can fold in a tablespoon of orange zest or a few tablespoons of cocoa for variety without changing the technique.
Store filled cups in an airtight container in the refrigerator for up to 5 days. If transporting, keep the container chilled and use a flat cooler bag to avoid shifting. Unfrosted baked cups can be frozen in a single layer on a sheet pan until solid, then transferred to a freezer-safe bag for up to 3 months. When reheating, bring frozen cups to room temperature or warm briefly (5–10 seconds) in the microwave to soften slightly before filling. Avoid leaving filled cups at room temperature for more than two hours to maintain the buttercream's texture.

If you need to adapt the recipe, try these swaps: replace half the butter with softened coconut oil for a hint of tropical flavor (note: texture will be slightly different). For a dairy-free version, use a vegan butter substitute and a flax "egg" (1 tablespoon ground flaxseed mixed with 3 tablespoons water) — results will be denser and may need an extra minute of baking. For gluten-free, use a 1:1 gluten-free flour blend that contains xanthan gum; the cups may be more fragile, so handle gently when removing from the pan. For flavored variations, swap 1 teaspoon vanilla in the filling for almond extract (start with 1/2 teaspoon) or add 1 tablespoon finely grated orange zest.
Serve these with hot cocoa, coffee, or a lightly spiced apple cider. They make a delightful addition to holiday cookie platters alongside gingerbread and shortbread. For a show-stopping display, arrange on a tiered tray with fresh evergreen sprigs and edible gold dusted sprinkles. For a party dessert bar, provide piping bags and allow guests to add their own sprinkles or mini candies — this interactive element is a hit with kids. Pair with a lemon or cranberry tart to add a bright contrast to the rich buttercream.
Decorated butter cookies and small filled biscuits have long been part of Western holiday traditions, especially in the United States and Northern Europe, where cookie exchanges became popular in the 20th century. The idea of bite-sized decorated cookies reflects the festive desire to create colorful, shareable treats during winter celebrations. Sprinkles rose to prominence as a decorative sugar in the mid-1900s and have since become synonymous with joyful, celebratory baking.
Adapt these cups for other seasons by switching sprinkle colors and extracts: pastel sprinkles and lemon filling for spring, orange and brown sprinkles with cinnamon buttercream for autumn, or red and pink sprinkles with strawberry extract for Valentine’s Day. For winter holidays, add a pinch of ground ginger to the dough or use peppermint extract (reduce to 1/4–1/2 teaspoon) in the filling for a classic peppermint twist.
For efficient holiday prep, bake multiple pans and cool them completely before stacking with parchment paper between layers. Freeze unfrosted cups, then thaw and frost the day of the event for the freshest presentation. Prepare the filling in advance and store in the fridge; bring to room temperature and re-whip for a minute to restore a pipeable texture. Use disposable piping bags for rapid assembly if you're making a large quantity.
These tiny cups are more than a sweet — they're a small, handmade way to share holiday cheer. Try making a few batches with different fillings and watch how quickly they become a new family favorite.
Chill the filled pan for 10–15 minutes before baking if your kitchen is warm to help the cups hold their shape.
Reserve a tablespoon of each color of sprinkles to press on the outside edges before baking for a more festive look.
Make the dough ahead and refrigerate for up to 48 hours; bring to room temperature briefly before pressing into the pan.
If frosting becomes too firm after refrigeration, let it sit at room temperature and re-whip briefly before piping.
This nourishing christmas sprinkle cookie cups recipe is sure to be a staple in your kitchen. Enjoy every moist, high protein slice — it is perfect for breakfast or as a wholesome snack any time.
This Christmas Sprinkle Cookie Cups recipe makes perfectly juicy, tender, and flavorful steak every time! Serve with potatoes and a side salad for an unforgettable dinner in under 30 minutes.
Preheat oven to 350°F and lightly grease a 24-cup mini muffin pan. Have utensils ready for shaping and filling.
Beat 1 1/4 cups softened butter and 1 1/2 cups powdered sugar until pale and fluffy, about 2–3 minutes. Scrape the bowl to ensure even mixing.
Beat in 1 large room-temperature egg and 1 teaspoon vanilla until combined and glossy. The mixture may look slightly curdled but will come together when flour is added.
Whisk together 2 1/2 cups all-purpose flour, 1 teaspoon baking powder, and 1/2 teaspoon salt. Add to the wet mixture in two additions and mix on low until just combined.
Gently fold in 1/4 cup red sprinkles and 1/4 cup green sprinkles, reserving a little to press on the edges before baking if desired.
Press rounded tablespoons of dough into each mini muffin cup, creating a shallow well in the center. Chill the pan 10–15 minutes if the dough is soft.
Bake at 350°F for 12–14 minutes until edges are lightly golden. Cool in the pan 5 minutes, then transfer to a wire rack to cool completely.
Beat 1/2 cup softened butter with 2 1/2 cups powdered sugar, 1 teaspoon vanilla, 1/2 teaspoon salt, and 2–3 tablespoons milk until smooth. Pipe or spoon the filling into cooled cups and garnish with sprinkles.
Last Step: Please leave a rating and comment letting us know how you liked this recipe! This helps our business to thrive and continue providing free, high-quality recipes for you.
Leave a comment & rating below or tag
@royalrecipe on social media!

Learn how a 5-minute prep transforms a whole garlic bulb into silky, caramelized cloves in the air fryer. Perfect as a spread, mix-in, or flavor booster that elevates weeknight meals and party plates.
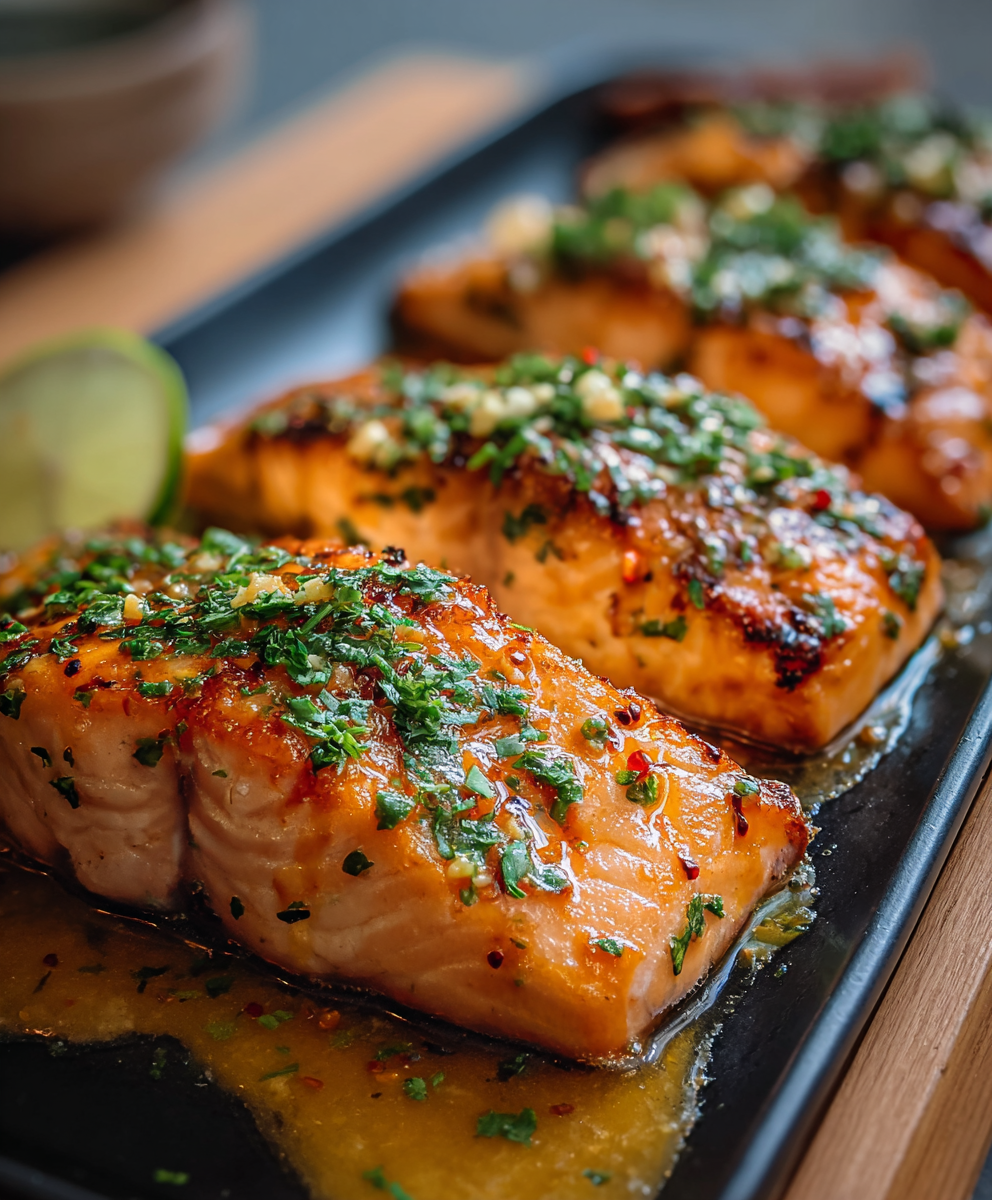
A bright, spicy and slightly sweet salmon dish finished with a creamy bang bang sauce. Ready in 15 minutes, it delivers restaurant flavor with weeknight ease.

A comforting, protein-packed twist on classic pot pie flavors, transformed into a creamy, one-pot soup that is perfect for weeknights and meal prep.
Leave a comment & rating below or tag @royalrecipe on social media!
Enjoyed this recipe? Share it with friends and family, and don't forget to leave a review!
This recipe looks amazing! Can't wait to try it.
Comments are stored locally in your browser. Server comments are displayed alongside your local comments.

Join to receive our email series which contains a round-up of some of our quick and easy family favorite recipes.